Showing posts with label Holiday shirt. Show all posts

Amy at Positively Splendid made this beyond cute little Easter Egg tee:

With a fantastic tutorial!  Honestly, I would never have attempted to make this without having seen her step by step.  You really should check it out!  But mine is a little different, so we made a tutorial too!

1. Using that little doodle-pro egg, I traced an egg shape onto a piece of gray felt; then traced a piece of that pink striped fabric, just in case the ruffles didn't cover everything!  I sewed the two pieces of fabric together first.


2.  I went through my piles of ribbon and embellishments and just grabbed anything that seemed to work with an "Easter" theme.


3.  I ruffled a few strips of ribbon.  This is different from Amy's project because she used fabric she needed to semi-serge the edges.  I figured if I used ribbon I wouldn't have to worry about fraying, plus I have much more of a selection in ribbon than fabric.


3.  First I layered what I had until it looked right.  But I'm lazy so I didn't pin.


4.  Then I started hot-glueing each layer on, which also differs from Amy's tutorial, since she sewed each layer of ruffles. Lazy me again.

This is a picture of all the layers glued on, but not trimmed.

5.  I then flipped the egg over to the back and sewed an edge around the now embellished egg.  Then I trimmed anything past that edge.


6.  Then I glued two jewelry pins onto the back, since I love the dress we're using for the party and I didn't want it to be just for Easter after this!


Finito!


This project was done with both kids awake and running around, asking for stuff, and it still only took me about 30 minutes.  Let us know if you make one!

Dot and Glitta

Linking here:
Thursday:
Friday:
Saturday:

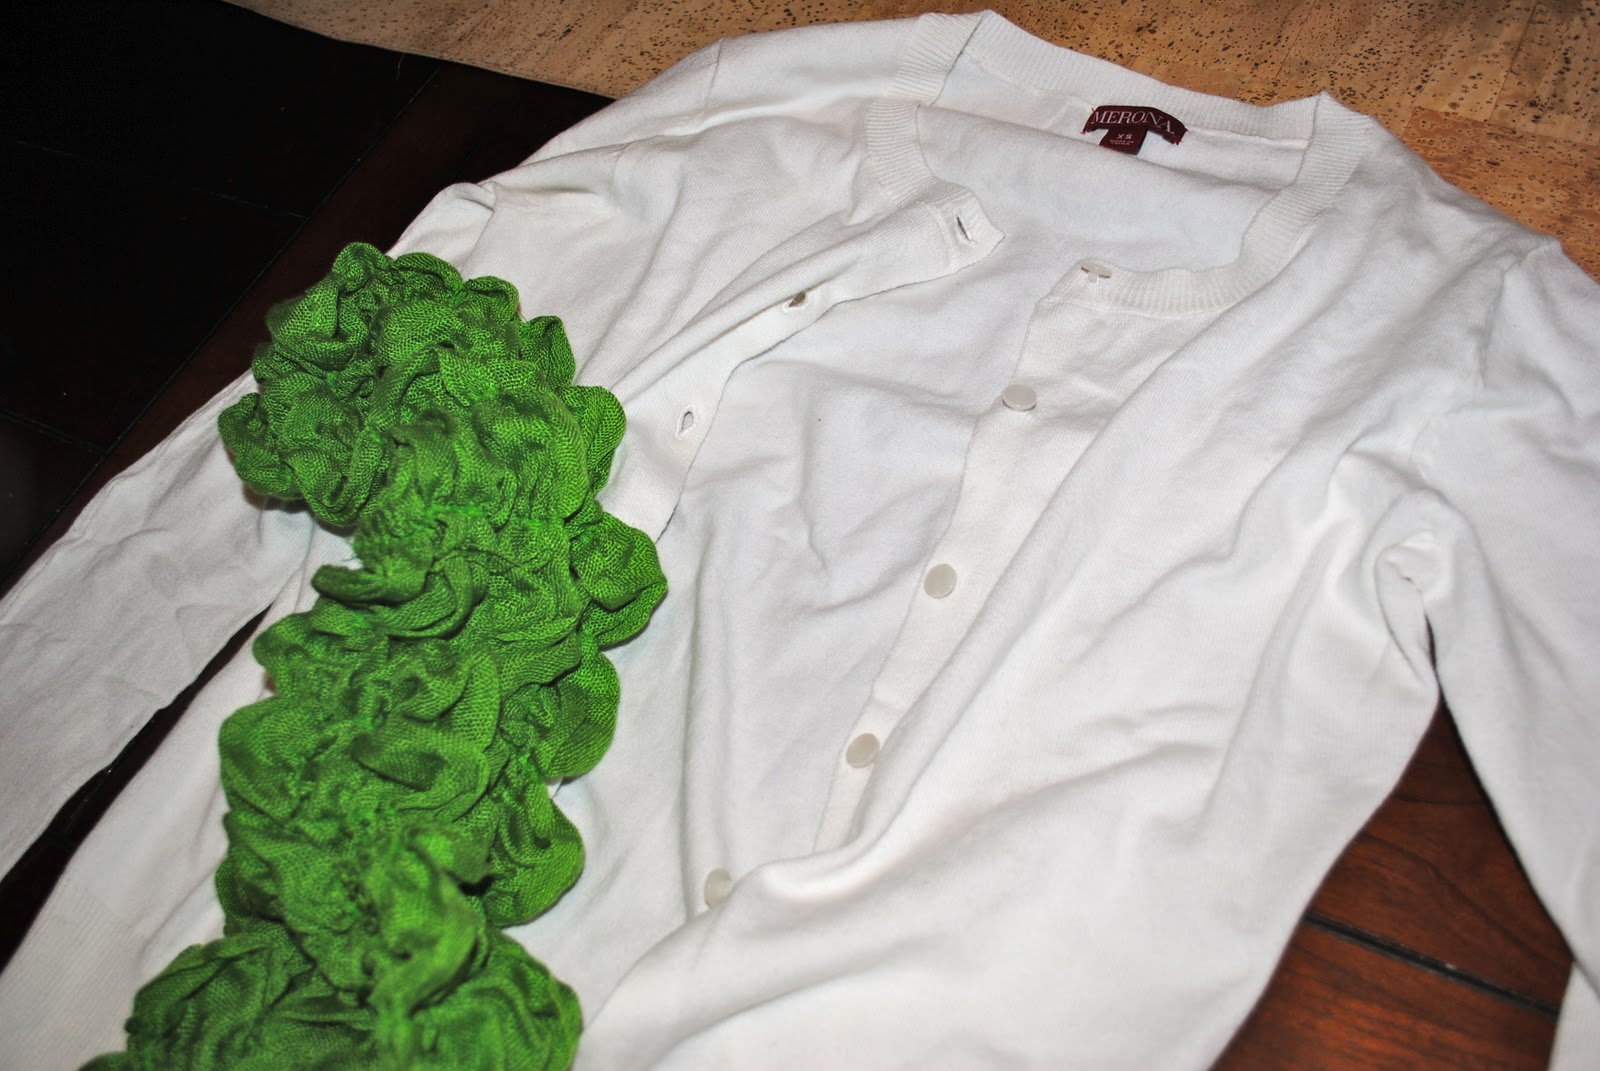
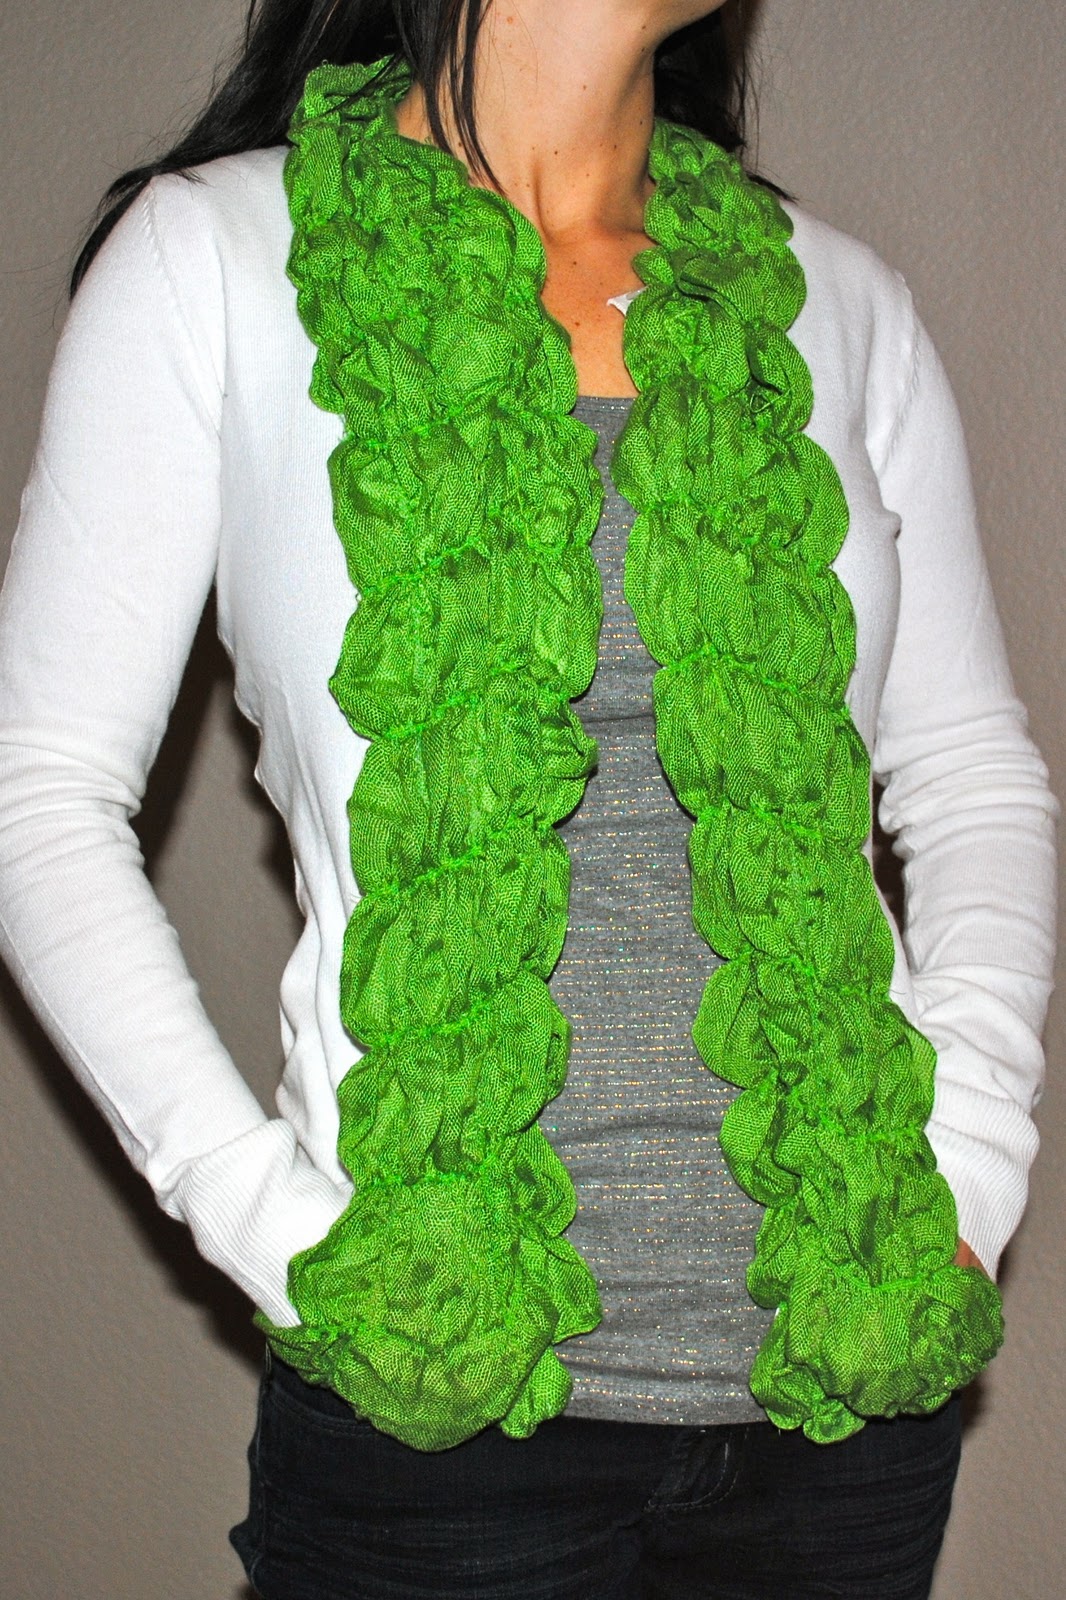
I saw this post by Jen at Tatertots and Jello and thought the sweater/scarf refashion was so cute and right up my alley.  So when I was at Target (like I seem to be every single day of my life) and breezed through their dollar section, I saw a ruffly green scarf and LIGHTBULB!


although I should admit it was in the "$2.50" section of the dollar section


And although Jen used an old cardigan she already had, I still liked my white one at home.  So I hit up the clearance rack and voila, Target pulled through for me with a clearanced white cardigan in my size for 5 bucks.  Doesn't get much better than that!

And all it took was a quick zip around the edges with the sewing machine (one straight line with green thread) and I had a:

St. Patrick's Sweater Refashion!
Photobucket

So I had mentioned before that my girls were a little snobbish when it comes time for their holiday shirts!! I have made up their St. Patrick's Day shirt for this year with a little tutorial for you. I went with the rainbow theme that I am loving up and I also a tiny copy of a crewcuts shirt I saw at the outlets. The one at the outlets was on a grey tee with cream tulle bows around the neck--so darling. It got me thinking...what about a rainbow around the neck with a glam sham underneath? Let' see what you think!


I bought 1/4 yd of tulle in the rainbow colors--WAY more than you will need for 1 or even 10 shirts-- and then you will cut the tulle into 1 1/2 x 7 inch strips and tie them into little bows.
Place the little bows across the top of the tee as shown, making sure to place a piece of foil underneath, then you will just hot glue each bow to shirt. (I hot glue tulle to shirts all the time. It can be washed, inside out on the gentle cycle with cold water and hang dry).
Sorry for the BAD picture I am new at this!! But to make your glamsham you will need to trace a shamrock shape onto felt, have a roll of green sequins (mine are from Hobby Lobby for $1 on sale), and I used Aleene's Super Fabric glue. You just put the glue all over the felt and layer the sequin in a line to cover the whole shamrock.
Here is what the shirt looked like after it was completed!! I think it will be just perfect for warding off pinches!
Enjoy
I was linked up here:


Glitta's girls are now accustomed to having a new holiday themed shirt to wear to school for each holiday. Homemade by Mom, of course, and they won't settle for just buying a cute holiday shirt from a store!
did I mention that I have created holiday snobs?

But, I love to do this for my kids and this is my tulle heart valentine's day shirt.

This is an easy tutorial for tulle heart shirts, but we don't have pictures for each step. 

Do you remember making tissue paper square projects as a kids where you would roll tissue paper squares and then glue the bottoms in different shapes to paper? That is the idea behind this shirt. You start out with 1/4 yard of the different colored tulle you want to use. Cut it into approx.  1 1/2 in squares. Trace a large heart onto a t-shirt with pencil. Lay a piece of foil underneath your shirt so the hot glue won't stick through. Then put a dot of hot glue on your shirt and twist the bottom of the tulle and with a pencil press the tulle onto the shirt and carefully attach the tulle. Follow the outline alternating colors of tulle in a pattern. Then I added small rhinestones periodically throughout the center of the tulle with hot glue. 

This shirt can be washed inside out on the gentle cycle of your machine on cold and hang to dry. 

Enjoy!

*Glitta's sister made this version of the tulle tee for her little sissies! What is not to love?
http://sz0074.ev.mail.comcast.net/service/home/~/319.JPG?auth=co&loc=en_US&id=306427&part=2

But keep in mind, if you make this adorable shirt, you may be creating
 your own little holiday snobs!  Don't say we didn't warn you!!


Photobucket