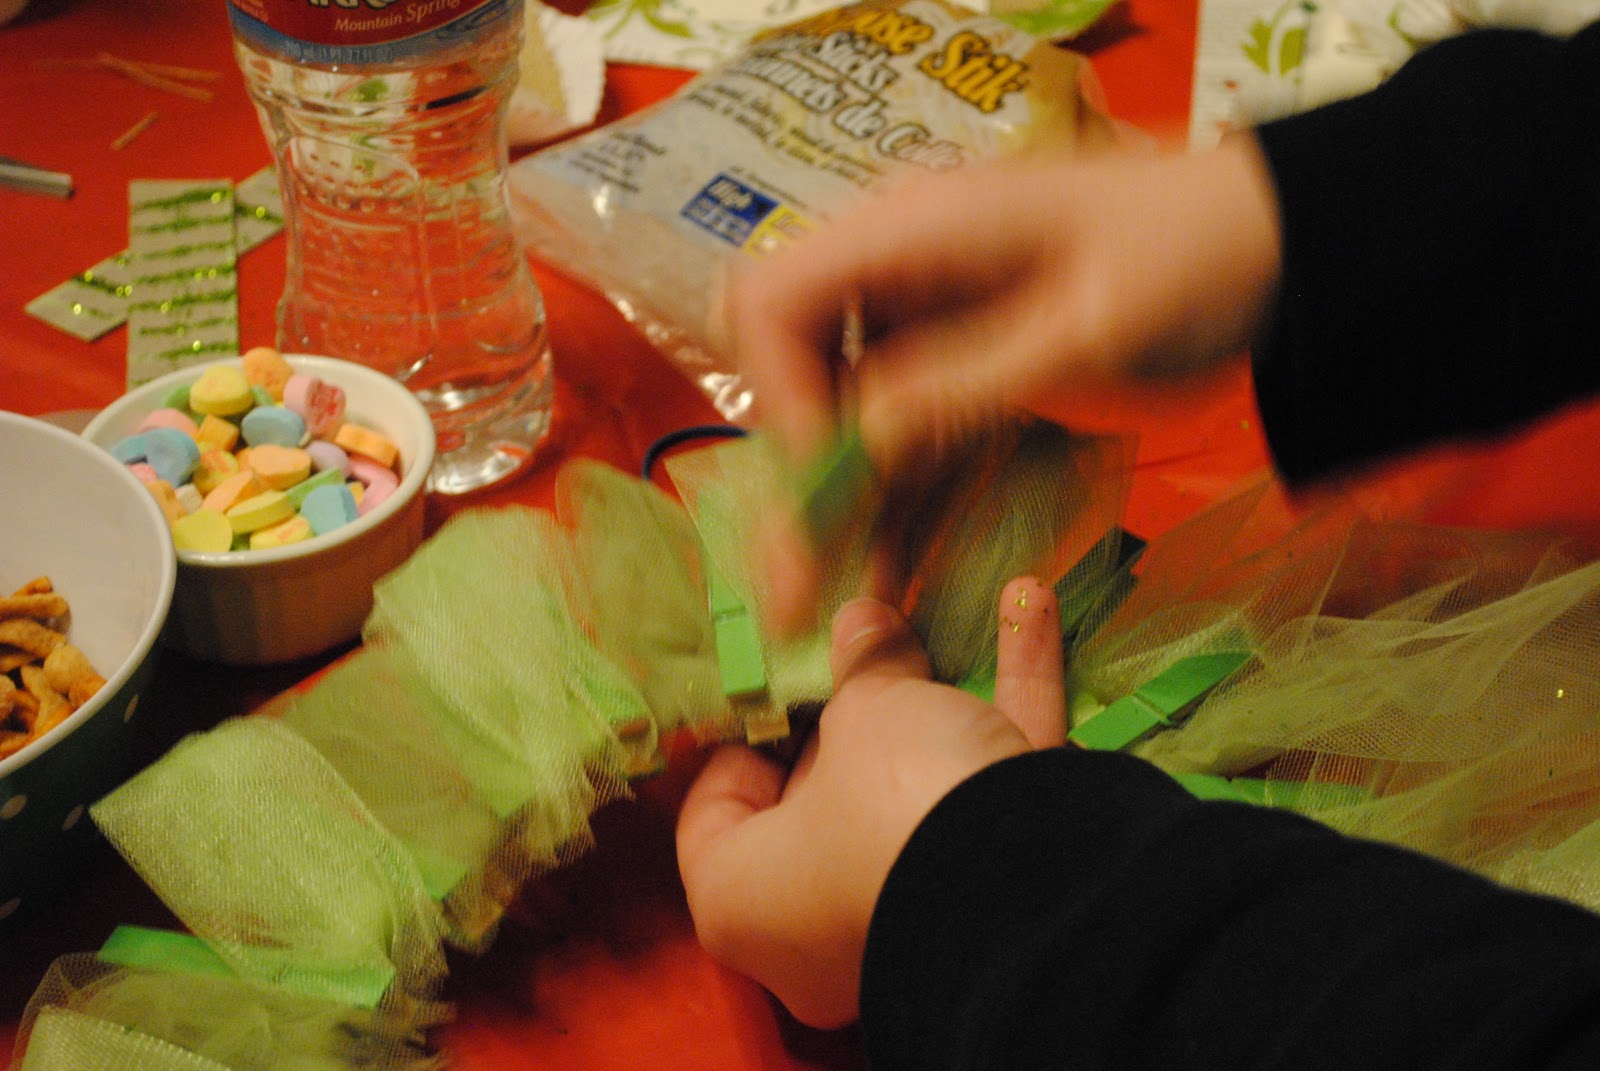
You may not know this, but we (Dot and Glitta) host a monthly craft night that is SO FUN. If you don't get together with some fun girls for some crafting, you should.
Really.
It's a little bit new, but its seeming to work best to provide a kit for our crafty ladies. We tried just giving a supply list, but less people seemed to come that way. So we started offering kits to purchase and thought we'd also provide a tutorial online. We've also decided to make the kits available for purchase to our online readers as well. So either email us, or buy some supplies and
get crafting!
This month's craft is this Shamrock Door Hanger (wreath, technically?):
Supplies:
About 8 ft of 16 gauge wire (we used 20 and it ended up being a little flimsy)
About 9 ft of a cheap ribbon for wrapping around the wire
About 75 large clothespins
Can of lime green spray paint
Green glitter (about 2 oz worth)
Spray Adhesive
25 yard spool of 6" green tulle
Embellishment Supplies:
Green buttons
Book pages
White cupcake wrappers,
green fabric
burlap
wire
This kit is available to purchase (with the embellishment supplies) for $25, minus the spray paint and spray adhesive, just email us with an order at holidaysnob@gmail.com
Step 1: Spray paint your clothespins. I kept them all together the way they were packaged because I was painting literally thousands of clothespins. It covers pretty well, but if you're a perfectionist, spread them out.
Step 2: Spray a small group of clothespins with spray adhesive, then immediately glitter. Then spray with a second coat of adhesive, which works pretty well to seal the glitter on. (Better than not spraying, but Dot's house was still covered in green glitter after craft night!)
Note: You won't be able to salvage leftover glitter because of the second coat of adhesive (even if you were to move the clothespins before spraying, you'd lose more glitter from your clothespins).
Stacks of glittered clothespins in bundles of 75:
Step 3: Shape wire into clothespin shape. Sorry, there's no pattern, but it's just 3 circles and a stem, right? Ours is about 20" wide and 16" tall.
Step 4: Wrap shamrock frame in ribbon. This helps bulk up the frame and the clothespins adhere. Start with glue-gunning the ribbon to itself around the stem and then occasionally as you go to keep the ribbon in place. This step may work better if you cut the ribbon between the stem and then between each leaf. Otherwise it's hard to secure it strictly in shape.
Step 5: Cut Tulle into 14" lengths (approximately). We used this
method from Treasures For Tots, that's really for making tutus. But works well when you just need a bunch of equal lengths of tulle.
Step 6: Knot the tulle around your frame. The tulle sticks out best if you knot it like this:
Leave enough room between each knot to be able to use your clothespins. We didn't put tulle around the stem, just clothespins. Here's one finished product:
We don't have a tutorial for the embellishments, we just kind of layered some fun things and used wire to attach the "Lucky" label and hot glue for the flowers.
One crafter's idea was to pin the tulle down, in even rows, using the clothespins to hold it. It made a cute ruffled look.
Here's another crafter's take: Lucky label in the middle! Cute...
Another crafters take (brilliant) on the flowers. We loved these! Dot needs to fix the example wreath now...
And a collage of the craft night. Those strawberries in the bottom left picture were TO. DIE. FOR. And they were just regular strawberries with some type of cream cheese topping (like fruit dip?) piped onto the tips. I don't know the recipe, but that particular crafter better attend every month!
If you have any questions, please feel free to leave a comment, or email us at holidaysnob@gmail.com!
We've shared a link to this blog at:

 Today's Creative Blog