Showing posts with label crafts. Show all posts
We have a few more summer reading lists, but for kids today!  We have an idea for a couple different ages.

Left: elementary, center: toddler, right: preschooler


I bought this dilapidated copy of Green Eggs and Ham at the Goodwill.  And before you freak out that I cut it all up and stamped on it, I promise it was missing several pages smack dab in the middle!  This one was a gift, so I didn't write any titles down, but you get the jist, right?  I made the banner from pages in the book.


This next one is more of an elementary school version.  This book was also from Goodwill, but it was intact so I wanted to make a version that didn't destroy the book.


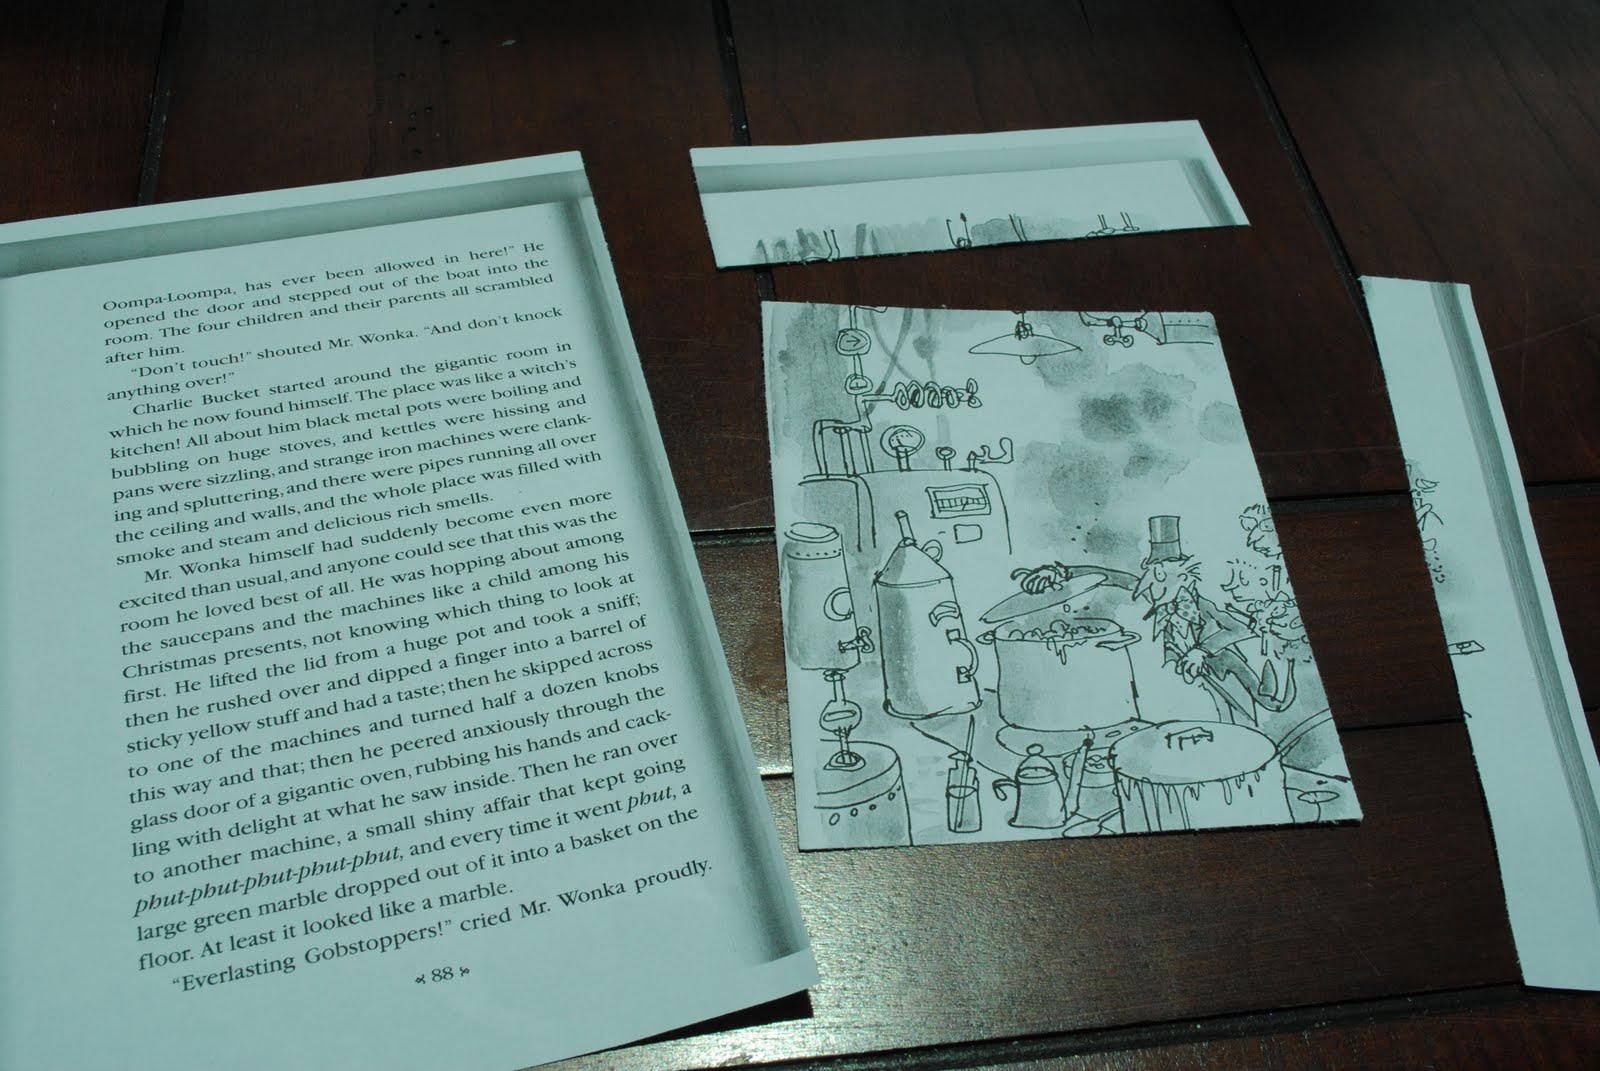
I photocopied an illustration and then cut it smaller...


I put a title and and large circles on the illustration and then added the titles to the circles.  I used a clothespin to hold the sheet to the cover, but there shouldn't be any damage to the book.  I thought it might make a fun end of the year gift for classmates!


The final one (I know, this isn't in any order that makes sense!) is the toddler reading list that basically just for decoration.  Not that it hurts to have some titles in mind, I guess.  I already had this cute little book, but it was torn to shreds.

I cut out the broken animal pop-up pieces to use for the titles.

Then glued them to a piece of twine with hot glue.

Here's a few of the pieces I used.


If you don't already have a big list of summer reading for your kids, here's a few sites with recommendations.
http://www.scholastic.com/parents/books-and-reading/book-lists/
http://www.scholastic.com/resources/booklist/page-turning-tales-of-summer-vacation/
http://www.scholastic.com/resources/booklist/great-summer-reads-for-your-middle-schooler/
http://printables.scholastic.com/content/collateral_resources/pdf/11/SCBookListYA2011_009.pdf


Pin It
Linking here:
Sunday:
http://iheartnaptime.blogspot.com/http://niftythriftythings.blogspot.com/
Monday:
http://craftomaniac.blogspot.com/http://makingtheworldcuter.blogspot.com/http://diyhshp.blogspot.com/http://www.skiptomylou.org/http://sumossweetstuff.blogspot.com/http://marvelouslymessy.blogspot.com/
Tuesday:
http://todayscreativeblog.net/http://ladybug-blessings.com/http://tipjunkie.com/http://www.sugarbeecrafts.com/
Wednesday:
http://eisymorgan.blogspot.com/http://www.paisleypassions.blogspot.com/http://somedaycrafts.blogspot.com/http://www.bluecricketdesign.net/http://www.mybackyardeden.com/http://reasonstoskipthehousework.blogspot.com/
Thursday:
http://www.momnivores-dilemma.com/,  http://www.houseofhepworths.com/http://nightowlcrafting.blogspot.com/
Friday:
http://www.whipperberry.com/http://www.thegirlcreative.com/,http://tidymom.net/http://sassysites.blogspot.com/http://shabbynest.blogspot.com/http://tatertotsandjello.blogspot.com/http://www.findingfabulousblog.com/
Saturday:
http://www.bedifferentactnormal.com

All the end of the school year stuff has kept us (and lots of the blogosphere!) hopping with events and teacher gifts and graduations.  I, for one, start to dream of long lazy summer days pool side with a book beside me!  Most kids are being sent home with some kind of summer reading list too!  But do we just scan through the local bookstore?  Nope.  The Holiday Snobs have to turn our summer reading lists into a keepsake that looks good on a shelf!  So we thought we'd share our snobby versions!  Today we have teen (girl most likely) and Adult!  And if you know a father who's a reader, maybe it'd make a good gift idea along with a new book?

For the teen version, I wrapped my favorite teen novel (not necessarily, but does anything say "teen" like a copy of "Twilight"???) with hot pink and yellow twine and stuck in these scalloped circles.  I wrote three titles down from a recommended reading list and embellished the circles with some fun rhinestones.   I used an embellished clothespin to attach the label so the book is completely unscathed. 

For the Adult Summer Reading List, I made a 5x7 image on picnik just to have a clear template.  It's not really very special, but I already did the work, so I might as well share it!  Just save the image to your computer if you want to use it, and let us know!

I decided to display the list with a book redo that was inspired by a post I saw on Knock Off Decor.   Jessica at Running with Scissors had seen these old books bundled by Ballard designs and copied them with some old paper backs.  I used a couple of hardcovers from the Dollar Store and ripped the spines off, then bundled with twine. 


I LOVE how they turned out!  I promise they look even better in person!  And for 2 bucks?  Pretty cheap for a different decoration. 


We'll post our kid versions tomorrow, you'll love 'em!!
You can go to the TeenReads.com site here to view the teen reading list.

Linking here:
Sunday:
http://iheartnaptime.blogspot.com/http://niftythriftythings.blogspot.com/
Monday:
http://craftomaniac.blogspot.com/http://makingtheworldcuter.blogspot.com/http://diyhshp.blogspot.com/http://www.skiptomylou.org/http://sumossweetstuff.blogspot.com/http://marvelouslymessy.blogspot.com/
Tuesday:
http://todayscreativeblog.net/http://ladybug-blessings.com/http://tipjunkie.com/http://www.sugarbeecrafts.com/
Wednesday:
http://eisymorgan.blogspot.com/http://www.paisleypassions.blogspot.com/http://somedaycrafts.blogspot.com/http://www.bluecricketdesign.net/http://www.mybackyardeden.com/http://reasonstoskipthehousework.blogspot.com/
Thursday:
http://www.momnivores-dilemma.com/,  http://www.houseofhepworths.com/http://nightowlcrafting.blogspot.com/
Friday:
http://www.whipperberry.com/http://www.thegirlcreative.com/,http://tidymom.net/http://sassysites.blogspot.com/http://shabbynest.blogspot.com/http://tatertotsandjello.blogspot.com/http://www.findingfabulousblog.com/
Saturday:
http://www.bedifferentactnormal.com

Pin It


Okay, finally getting a chance to post about our last Craft Night, even as we have May's Craft Night happening soon!  We don't quite have a picture for EVERY step and all these were taken at night, so please forgive the quality!

1.  First you'll need about 80 inches of ruffled crepe paper.  We just fed the streamers through the sewing machine, ruffling manually.  


2.  We made the cake stands by using Gorilla Glue to attach a glass candlestick to a plate.  We Modge-podged paper onto the plate, but didn't include a picture of that.


3.  Next, use hot glue to attach crepe paper around the outside of the plate.  It will cover any uneven cutting of the paper :)

4.  For the blocks we used a 4x4x8 piece of wood, and then cut it into an 8" long rectangle, 6" rectangle and a 3.5" square for the top and painted them white.


5.  For the middle block, we covered it in two lines of ruffled streamers.  Use hot glue to make a line, then press the sewn middle of the streamer into the line of glue.  Wrap around all four sides.  Then repeat for a second layer of ruffles.


6.  The square and 8" rectangle were covered in paper.  For the square you'll need 6 different patterns, cut into 3.25" x 3.25" squares.  For the rectangle you'll only need two long pieces, 7.75"x 3.25", and two squares, 3.25" x 3.25"  The bottom of the block won't ever show and the top of the block is mostly covered by the ruffled rectangle above it.

7.  Mod-podge the paper on.

Here's a picture of the blocks finished through these steps so far:


Here's a picture of the Craft Night kits set up and ready to go.  (Which, by the way, we will be putting onto our etsy shop in addition to the finished sets.)


10.  We added vinyl to the bottom and top pieces of wood. We cut "days until my" in Simply Sweet at 1" and "Birthday!" in 1.5".   Then we cut numbers 0-5 in 3 inches


This set was made by Glitta's sister, isn't it cute??


And here's some pix of some of the crafters.  All the sets turned out so cute and we had so much fun!  Thanks ladies for indulging our snobbery!


Linking here:
Sunday:
Monday:
Tuesday:
Wednesday:
Thursday:
Friday:
Saturday:

Just after Easter, I saw this cute idea on Cricket's Dashboard where she mailed filled plastic eggs to her nieces and nephews.  But not wrapped, just how they are!  I love it!!  And have been thinking of a way to do something like it without waiting until next year!


Cricket's Dashboard
Then I thought of the Altoid containers, like the one Alpha Mom made here!  She used hers for nuts and bolts with a tool case, but I know I've seen them as gift card holders floating around blogdom!


AlphaMom


So I made one for my MIL who lives out of state!  A gift card was looking like the most likely present...  And I'm going to just tape it up and mail it as is!


If you don't know how to make one of these snobby little gift card holders, it's so easy. Empty an Altoids tin and wipe it out.

The gift card JUST fits inside.


Then I made a little card to place inside.  I layered shredded paper, then the Mimi's Cafe card, then my card.  As you can see from the below picture, I also cut paper to fit the inside lid.  I don't have a picture, but I did it for the bottom of the box too.  Modge Podge worked fabulously to apply it.


I made the top card to act exactly as the label and I'm mailing it out tomorrow, so I'll let you know what it costs.  (But I can't imagine it'll be more than a couple dollars.)


But. 

That's not all!

We have a Mother's Day gift for you too!


This giveaway is open to everyone who is a Mother, or just came from a Mother at some point :)

Giveaway closes at midnight, MST, Thursday, May 5th, 2011

To Enter:

1. Become a follower of this blog and leave a comment.

2.  If you're already a follower, leave a comment that you are.

3.  "Like" us on Facebook and leave a comment that you did.

So you have two chances to enter this contest for a $50 gift card to Target!  How awesome is that!  Thanks to our sponsor, Craft Night.

*this giveaway is closed, but thanks for all your awesome comments!

Monday:
Tuesday:
Wednesday:
Thursday:
Friday:
Saturday:


We're so excited to have a guest blogger today, Melanie from Sister Hipster!  Sister Hipster is specializes in hip baby gear, but also creates some very cool retro artsy pieces.  Here's some of her latest stuff:
cactus tea cup
felt flower hair bow
April Showers wall hanging

Melanie also made this fabulous vintage illustration (courtesy of Beatrix Potter) Easter bunting:


And exclusively for Holiday Snob, she produced this Mr. Bunny Free Motion Sewn wall art, 


so without further ado, here's her tutorial!!


When I started making these images I used paper on paper and another
was fabric on fabric. I thought to get more variety I mixed it up and
did paper on fabric. Paper is so fun cause I had so much of it! A lot
more variety than my fabric selection. So that is how mr. Bunny came
about. Heres the know how...  

Step 1: draw and design your image

Step2: for the next step, you'll need to make several separate parts
for stenciling. So what I did, I took my picture to the light box and
using heavy cardstock, I traced each separate body part I was going to
use for different paper or fabric. Before I cut them out I labeled
them so I would know what was the part and which was the front. Once
they're cut out it can get a little confusing.

Step 3: I then cut out each piece. I then figured out my color scheme
and started tracing. You want to make sure you trace on the back of
the paper. Also, when doing that, you need to make sure your stencil
is turned around. That way the front of the paper will match the right
side of he stenciled image. If that makes sense.

Step 4; once all the body parts are cut, I placed them how they should
fit (also added an oval for the background). Then I taped them just a
little to keep the image together while I sewed it.

Step 5: I stretch my fabric on an embroidery hoop and place my image
on the back (so it lays flat on the machine) after all taped, I used
my sewing pen ( with disappearing ink) and drew in designs like the
nose, eyes, and border. That way I can see exactly where to sew once I
get on the machine. (saves a little heart ache)

Step 6:  Then I take off the needle and the "pressure foot ankle"
itself . That way I can fit the hoop under. Once under I put the ankle
and needle back in place. Then I put on my embroidery/ daring foot.
Make sure to change all settings necessary for free motion sewing such
as lowering your feed dogs and anything else depending on your
machine.

Step 7: start sewing! I went around each body part a few times, along
with the body. You can choose to do one continuous line without bring
your needle up for a different effect. I raised mine a few times to do
the eyes and nose parts separate.

Step 8: here's the image all done sewing wise and now flipped on the
embroidery hoop, but you can see I still need to trim off excess
fabric from the back.

Step 9: um.. That would be trim the excess fabric off the back. Make
sure the image is EXACTLY where you want it and pulled tight. once you
trim off the back it's almost impossible to change.

Pic 10 and 11 : Finished product! I left it like it is at this point
but In the past I've added embellishments such as buttons, brads,
ribbon, stamps or whatever tickles your fancy. Just have fun with it!


Thanks, Melanie!! 

Dot and Glitta


Linking here:
Sunday:
Monday:
Tuesday:
Wednesday:
Thursday:
Friday:
Saturday: